Lesson 1 - Creating your first LaTeX document
In this lesson, we will be creating our first LaTeX document and explore some of the basic functionality of LaTeX.
Table of Contents
Lesson Objectives
- Understand what a document preamble and body are.
- Create sections, subsections, paragraphs, and a table of contents.
- Use text emphasis to bold, italicize, and underline words.
- Create inline math expressions.
Creating a new project in Overleaf
If you haven’t already, go to Overleaf and log in.
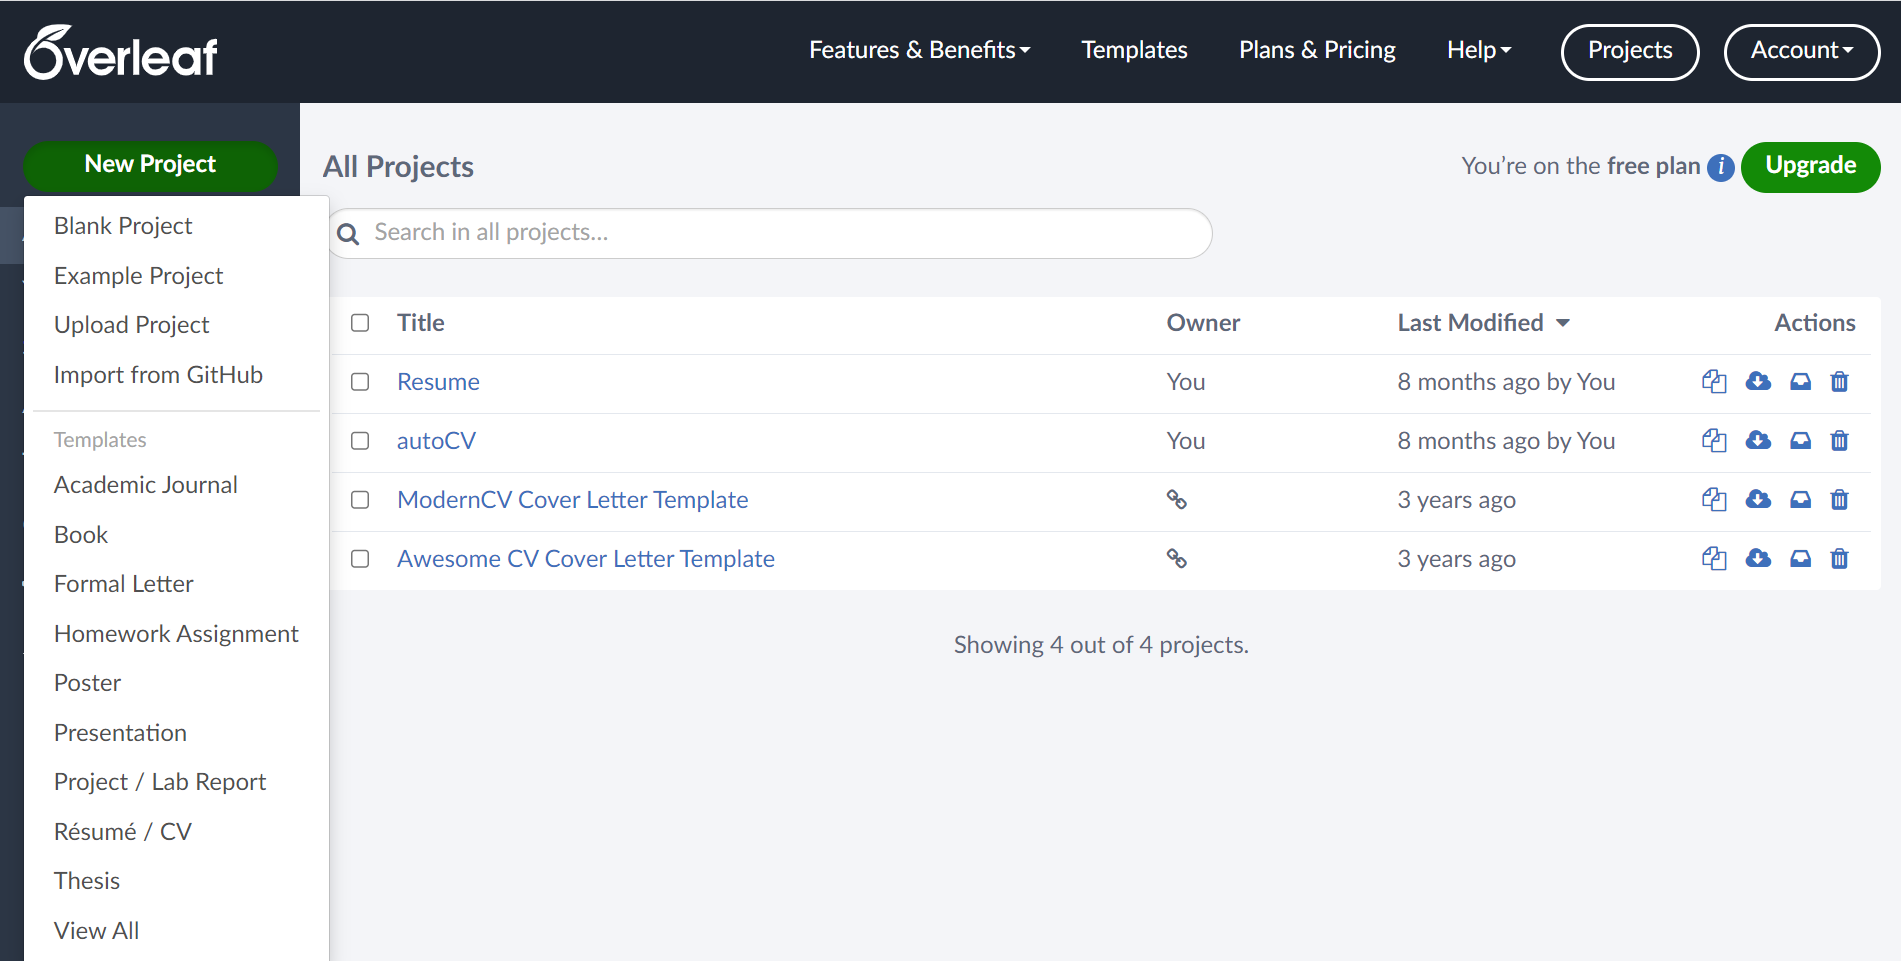
After logging onto Overleaf, you should see your profile dashboard. This page will show you all your projects as well as give you the option to create a new one.
- To create a new project, click on the green
New Project. You’ll see a variety of templates available, but for now we just want theBlank Project.
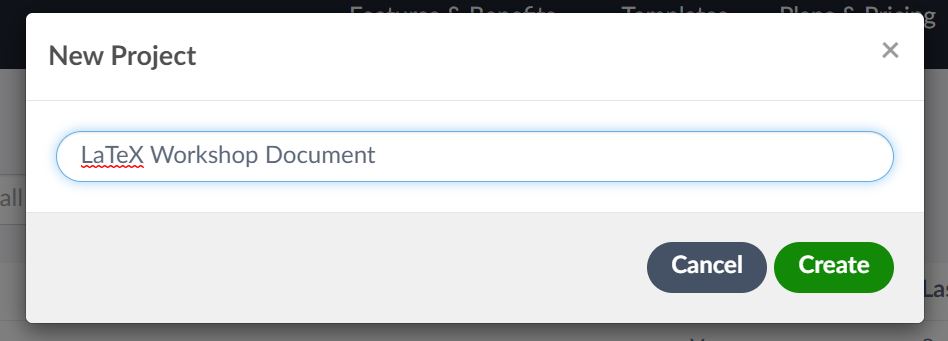
- Give your new project a name. It can be whatever you’d like, but we’ll name ours
LaTeX Workshop Document. When you’re done, click on the greenCreatebutton.
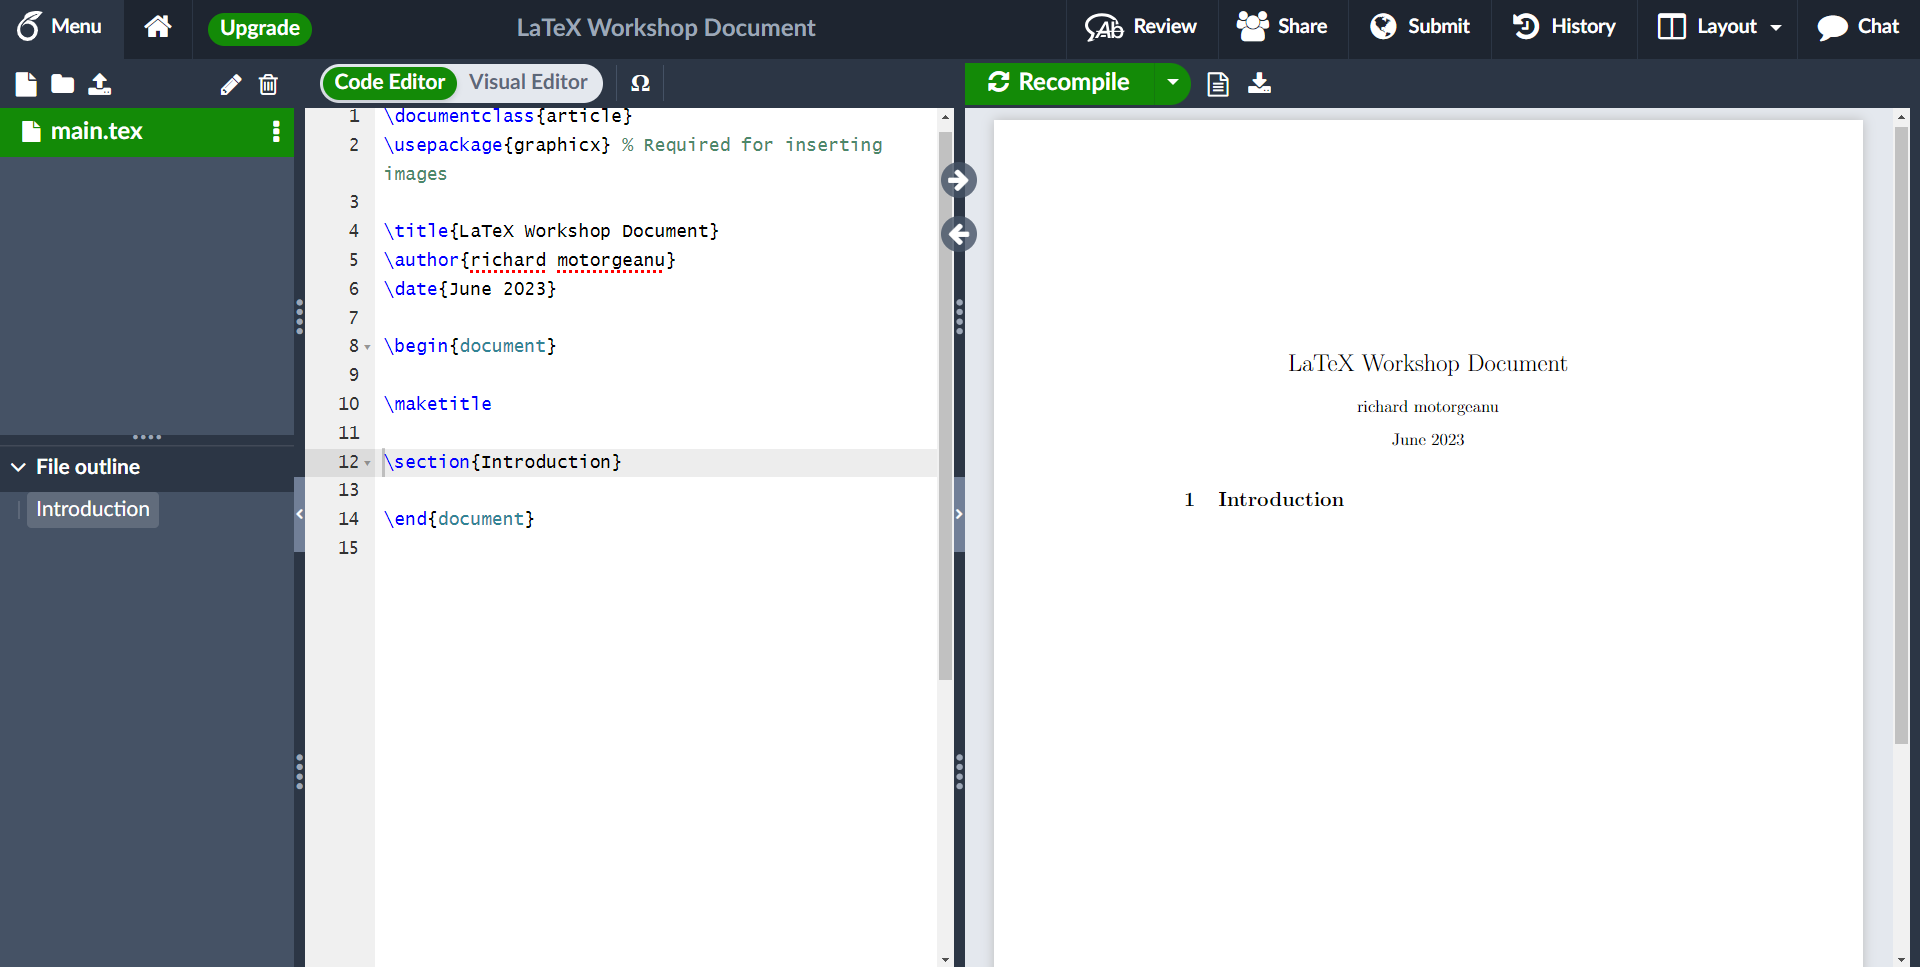
- You should soon see your new document. On the left-hand side, you’ll see a file explorer and file outline. The file explorer will be used to store any images or extra files we might need to create our document. The file outline will automatically generate something similar to a table of contents, allowing us to move through the document with ease.
- To the right of that, you’ll see the code editor. This is where we will actually write our LaTeX code.
- Finally, on the right-hand side is the document preview. This is where we can see how our LaTeX document looks.
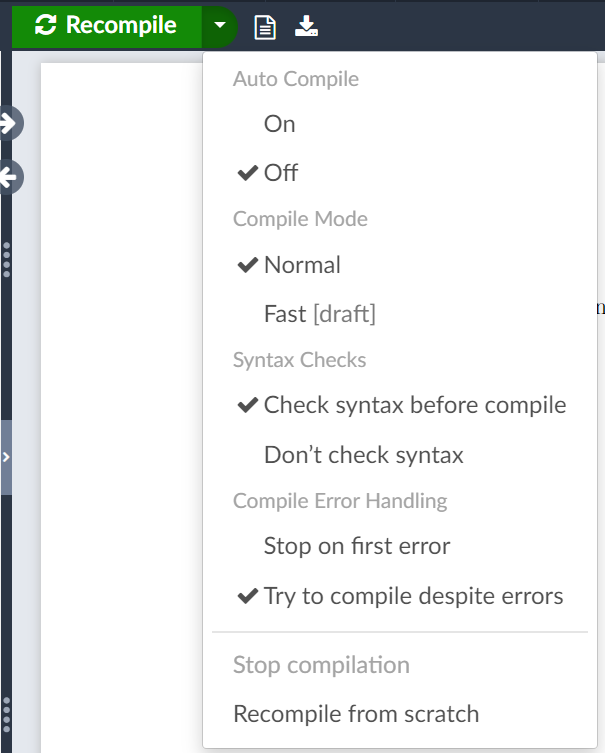
- Above the preview window, there’s a green
Recompilebutton with a dropdown menu. Every time we make a change to our LaTeX document, the preview window does not update until we recompile our LaTeX code. In the dropdown menu, there’s an option for autocompilation, which will make it so that our LaTeX code will recompile automatically whenever we make a change.- For the workshop, we recommend leaving autocompilation off. By manually compiling your document, it’ll be easier to see the differences in our document before and after a change. When working on documents outside the workshop, however, autocompilation is a really powerful tool that helps speed up the process of creating documents.
“Blank” Project Overleaf Template
Despite picking the Blank Project option, there’s some LaTeX already created! Let’s take a few moments to analyse this code before we create our own.
\documentclass{article}
\usepackage{graphicx} % Required for inserting images

\title{LaTeX Workshop Document}
\author{richard motorgeanu}
\date{June 2023}

\begin{document}

\maketitle

\section{Introduction}

\end{document}
The Preamble
The preamble consists of any lines of code that come before the \begin{document} line. It consists of the initial LaTeX document setup, telling LaTeX what type of document it’s going to be creating, any packages it might need, and some more general information about the document.
documentclass
The \documentclass{article} line specifies the type of document we’re creating. Selecting a different document class will change some of the default formatting options that LaTeX uses, such as the font, font size, spacing, and so forth. There are many document classes available, including:
- report
- book
- slides
- letter
- and a lot more!
For a comprehensive list of document classes, see https://ctan.org/topic/class.
Take note that, while Overleaf supports most of the document classes listed in the resource provided, you might encounter errors without additional setup. If you installed LaTeX locally, you will likely encounter errors without some extra installation or setup.
usepackage
The \usepackage{graphicx} line adds in the graphicx package, which lets LaTeX support images.
With LaTeX, you will be using plenty of packages to add extra functionality to LaTeX. There are currently over 4,000 packages to choose from. They can range from very broad additions to some very specific additions (like a font for adding images of dice).
A full list of packages can be found at https://ctan.org/pkg.
Do not worry, you do not have to know what every package does or memorize the names of them. Most documents will only ever use the same 3 or 4 packages.
General Information
Lastly, the author, title of the document, and date are also specified in our preamble. This information is used later on when creating the title of your document.
The Document Body
Anything in between \begin{document} and \end{document} is our document body. This is where we create the content of our document.
There are two lines in the document body of the generated code, \maketitle and \section{Introduction}.
maketitle
\maketitle creates the title of your document using the information from \title, \author, and \date.
section
\section creates a header for your content. There’s also \subsection, which creates a subheader to further seperate content. We’ll be working with both of these later on.
Commands and Comments
We’ll also briefly touch up on LaTeX commands and comments before starting to edit our LaTeX document.
Commands
You may have noticed that all special commands start with a \, and that some have additional information inside a pair of curly brackets { }. That additional information is often called a parameter, and there are two types: optional parameters and mandatory parameters (which we’ll just call parameters from now on).
Parameters use curly brackets { } and are required by the command for it to work. All the commands that we’ve worked with so far have used parameters rather than optional parameters, like \author{}, \documentclass{}, etc.
Optional parameters, on the other hand, use square brackets [ ], and they provide some information to the command that’s not required for them to function. This is most commonly used to override the default settings that the command is using. \documentclass accepts some optional parameters to override the default formatting styles that a document class might come with. For example, we can change the font size of an article document to 12pt by changing the \documentclass{article} to \documentclass[12pt]{article}.
Comments
Another important thing to mention is the text following the \usepackage{graphicx} line. It starts with a %, and the color of the text is slightly faded out compared to the rest of the code. These are comments, and they’re used to create notes in code. These notes are ignored by LaTeX, but they’re often beneficial for you or others to read.
Since comments are ignored, they’re also useful to temporarily disable lines of code! This is great for debugging issues or testing how the document changes with or without a particular line.
Your First LaTeX Document
Now that we understand what our LaTeX document is doing, we can start editing and creating it.
Changing the Author and Date
- Let’s start by editing the author and date of our document.
Tip
You can use
\todayfor the date, and LaTeX will automatically insert today’s date.\date{\today}
Changing Author/Date Example
Input
\documentclass{article}
\usepackage{graphicx} % Required for inserting images

\title{LaTeX Workshop Document}
\author{Richie Motorgeanu}
\date{\today}

\begin{document}

\maketitle

\section{Introduction}

\end{document}
Output 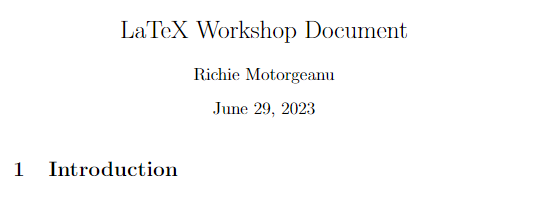
- If you recompile the document now, you should see that the information in the title has changed.
Creating New Sections
- Now, let’s also try to create new sections and subsections. Use
\section{}and\subsection{}to create new sections in the document.
Creating Sections Example
Input
% extra lines of code not shown to save space

\begin{document}

\maketitle

\section{Introduction}
\subsection{What is LaTeX?}
\section{Preparation}

\end{document}
Output 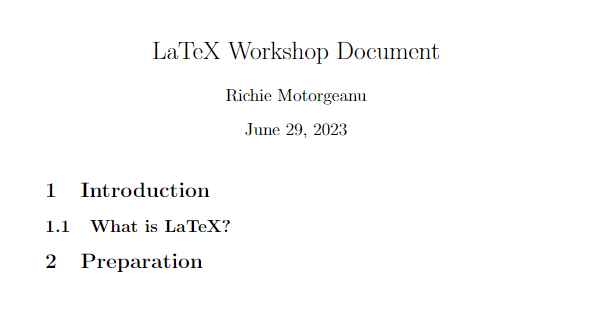
- You’ll notice that the numbering of the sections and the font size of the different headers are automatically handled for you.
Creating a Paragraph
- To create a paragraph, you simply write the text as you would normally. No fancy commands are needed.
Creating a Paragraph Example
Input
% extra lines of code not shown

\section{Introduction}
\subsection{What is LaTeX?}

LaTeX is a markup language for creating high-quality documents. As a markup language, LaTeX takes care of the document formatting so that you can focus on content. Unlike Microsoft Word and Google Docs, you don’t need to worry about the formatting of content after the initial setup.
% this is a comment, so it will not show up in the document

\section{Preparation}

\end{document}
Output 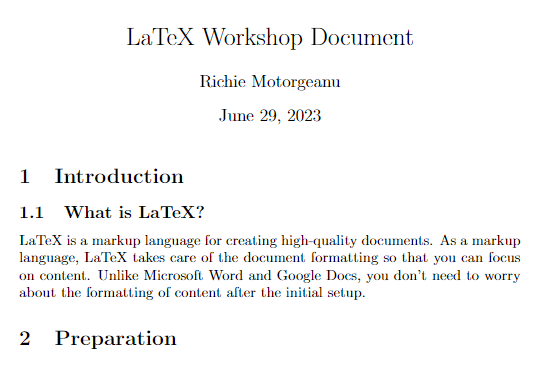
Creating New Paragraphs
- Creating new paragraphs is a bit less intuitive. To create a new paragraph after an existing paragraph, you need a blank line in between. See the two examples below, the incorrect way and the correct way, to see how to create a new paragraph.
Incorrect Way to Create a New Paragraph
Input
% extra lines of code not shown

\section{Introduction}
\subsection{What is LaTeX?}

% notice the lack of an empty line between these two paragraphs
LaTeX is a markup language for creating high-quality documents. As a markup language, LaTeX takes care of the document formatting so that you can focus on content. Unlike Microsoft Word and Google Docs, you don’t need to worry about the formatting of content after the initial setup.
LaTeX is also a very popular tool used to typeset mathematics and other special symbols.

\section{Preparation}

\end{document}
Output 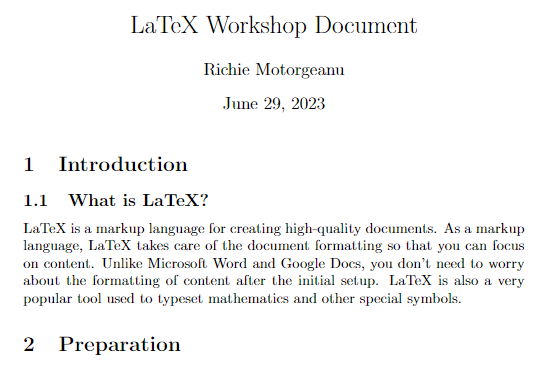
Correct Way to Create a New Paragraph
Input
% extra lines of code not shown

\section{Introduction}
\subsection{What is LaTeX?}

% take note of the empty line between these two paragraphs
LaTeX is a markup language for creating high-quality documents. As a markup language, LaTeX takes care of the document formatting so that you can focus on content. Unlike Microsoft Word and Google Docs, you don’t need to worry about the formatting of content after the initial setup.

LaTeX is also a very popular tool used to typeset mathematics and other special symbols.

\section{Preparation}

\end{document}
Output 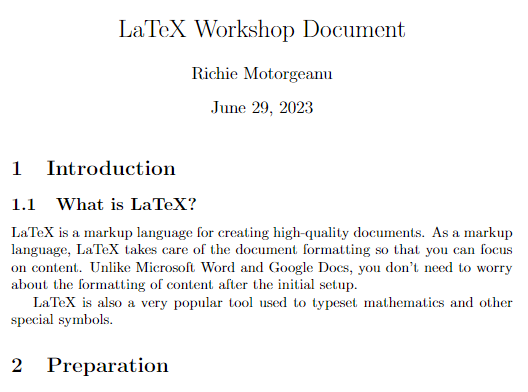
Creating a Table of Contents
- LaTeX can also automatically create a table of contents for you based on the sections and subsections you create. Simply use the
\tableofcontentscommand wherever you’d like to insert a table of contents.
Creating a Table of Contents Example
Input
% extra lines of code not shown

\begin{document}

\maketitle

\tableofcontents

\section{Introduction}
\subsection{What is LaTeX?}

LaTeX is a markup language for creating high-quality documents. As a markup language, LaTeX takes care of the document formatting so that you can focus on content. Unlike Microsoft Word and Google Docs, you don’t need to worry about the formatting of content after the initial setup.

LaTeX is also a very popular tool used to typeset mathematics and other special symbols.

\section{Preparation}

\end{document}
Output 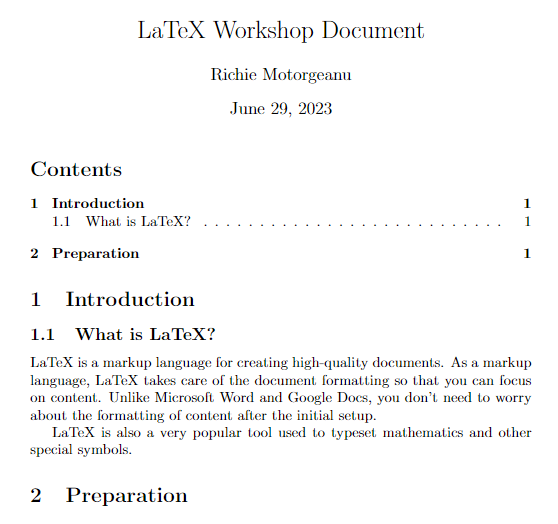
Excluding Sections from the Table of Contents
- To exclude a section from appearing in the table of contents, simply add an asterix * in the command before the parameters. This will also prevent the section from being numbered.
\section*{Section Name}
Creating a Table of Contents Example
Input
% extra lines of code not shown

\begin{document}

\maketitle

\tableofcontents

\section{Introduction}
\subsection{What is LaTeX?}

LaTeX is a markup language for creating high-quality documents. As a markup language, LaTeX takes care of the document formatting so that you can focus on content. Unlike Microsoft Word and Google Docs, you don’t need to worry about the formatting of content after the initial setup.

LaTeX is also a very popular tool used to typeset mathematics and other special symbols.

% Adding the asterix will remove the section from the table of contents
\subsection*{Example Figures}

\section{Preparation}

\end{document}
Output 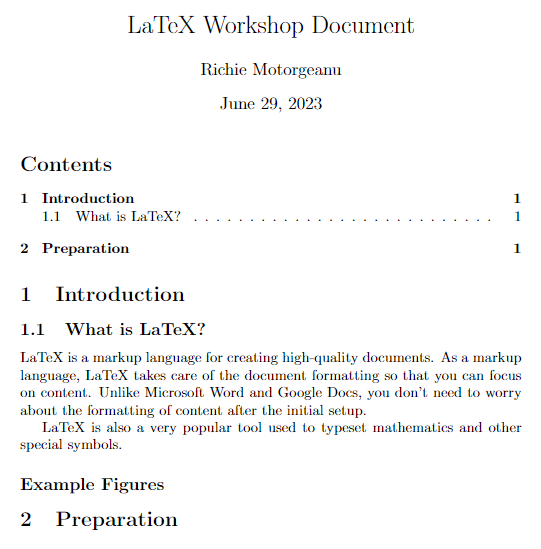
Using Text Emphasis
- To make text bold, use
\textbf{}and include the text as the parameter. - To make text italic, use
\textit{}and include the text as the parameter. - To underline text, use
\underline{}and include the text as the parameter.
Using Text Emphasis Example
Input
% extra lines of code not shown

\begin{document}

\maketitle

\tableofcontents

\section{Introduction}
\subsection{What is LaTeX?}

LaTeX is a markup language for creating high-quality documents. As a markup language, LaTeX takes care of the document formatting so that you can focus on content. Unlike Microsoft Word and Google Docs, you don’t need to worry about the formatting of content after the initial setup.

LaTeX is also a very popular tool used to typeset mathematics and other special symbols.

% Adding the asterix will remove the section from the table of contents
\subsection*{Example Figures}
\textbf{This is bolded text.}

\textit{This is italic text.}

\underline{This is underlined text.}

\section{Preparation}

\end{document}
Output 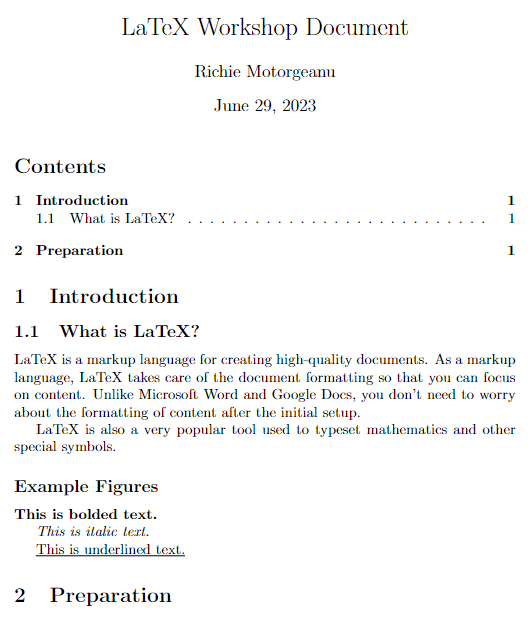
- Try combining text emphasis! Make bold italic text, or maybe italic underlined text!
Combining Text Emphasis Example
Input
% extra lines of code not shown

\begin{document}

\maketitle

\tableofcontents

\section{Introduction}
\subsection{What is LaTeX?}

LaTeX is a markup language for creating high-quality documents. As a markup language, LaTeX takes care of the document formatting so that you can focus on content. Unlike Microsoft Word and Google Docs, you don’t need to worry about the formatting of content after the initial setup.

LaTeX is also a very popular tool used to typeset mathematics and other special symbols.

% Adding the asterix will remove the section from the table of contents
\subsection*{Example Figures}
\textbf{This is bolded text.}

\textit{This is italic text.}

\underline{This is underlined text.}

\textbf{\textit{This is bold italic text.}}

\textit{\underline{This is italic underlined text.}}

\section{Preparation}

\end{document}
Output 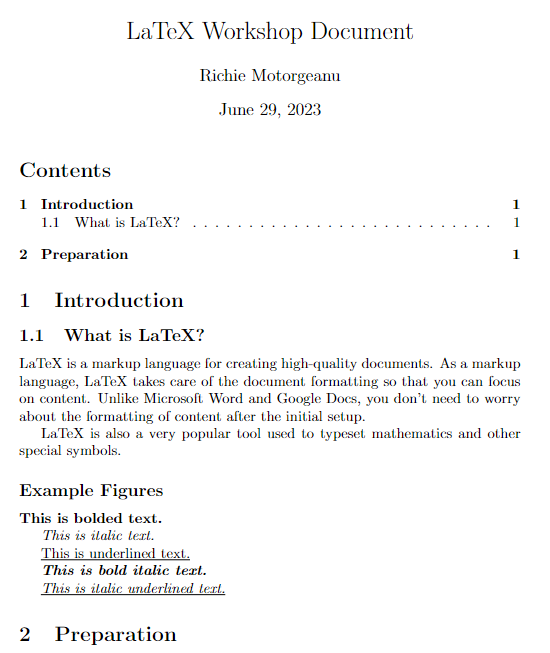
Creating Inline Math
- To create inline math statements, surround the math equation with dollar signs $ $.
- Any text inside the dollar signs will be in “math mode”, and LaTeX will format it as if it were a math equation.
- The example below showcases what “x = 1” looks like with and without math mode.
Math Mode Example
Input
% extra lines of code not shown
\section{Preparation}

% Without math mode:
Suppose x = 1.

% With math mode:
Suppose $x = 1$.

\end{document}
Output 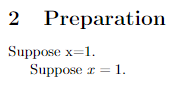
- In math mode, there are some extra commands that allow you to insert special characters.
- For a full list of predefined LaTeX mathematical symbols, see https://www.cmor-faculty.rice.edu/~heinken/latex/symbols.pdf.
Math Mode Symbols Example
Input
% extra lines of code not shown
\section{Preparation}

Suppose $x = 1$ and $y = 4$. Then $x \times y = 4$ and $x \div y = 0.25$.

\end{document}
Output
Using $ and % in LaTeX
- Since the $ and % symbols are used for comments and math mode, LaTeX gets confused when you try to use them like normal. In order to insert a $ symbol or a % symbol, precede the symbol with a backslash \.
Using a $ and % Example
Input
% extra lines of code not shown
\section{Preparation}

Suppose $x = 1$ and $y = 4$. Then $x \times y = 4$ and $x \div y = 0.25$.

We did a campaign where 50\% of all profits went to charity, and we raised over \$100,000.

\end{document}
Output 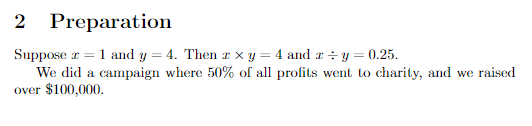
Key Points / Summary
- The preamble tells LaTeX how to format the document, while the body is the content of the document.
- You can create sections and paragraphs with an automatically generated table of contents.
- You can also format math using math mode.